Bricks Builder is a powerful visual site builder for WordPress that allows you to create custom websites quickly. When combined with WooCommerce, it becomes an excellent tool for building e-commerce sites. This guide is based on standard best practices for importing pre-built templates and configuring WooCommerce within Bricks. It’s designed for beginners and assumes you have a fresh WordPress installation. The process typically takes 30-60 minutes, depending on your server’s speed. This guide also has a simple and easy tutorial video you may want to watch.
Prerequisites:
A WordPress site hosted on a server (e.g., via Bluehost, SiteGround, or local setup like LocalWP).
Access to a premium Bricks Builder license (free version has limitations).
Download a template package (after purchasing from Raddito, which offers niche templates for healthcare, business, real estate, or e-commerce). These usually come as ZIP files containing JSON templates, XML demo content, and fonts.
Installed plugins: Bricks Builder theme, WooCommerce (for e-commerce features).
Warning: Always back up your site before importing templates to avoid data loss. Use tools like UpdraftPlus for backups.
First Part: Basic Site Import with Bricks Builder
1. Install and Activate Bricks Builder:
Log in to your WordPress dashboard.
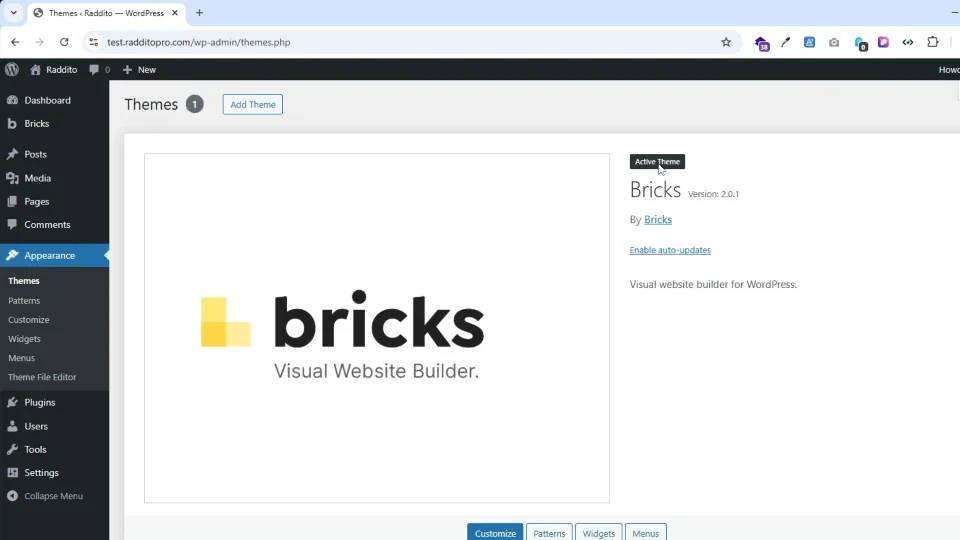
Go to Appearance > Themes > Add New > Upload and install the Bricks theme ZIP file.
Activate Bricks as your theme. (Note: Bricks works as both a theme and builder; no need for a child theme initially.)
Install any recommended plugins if prompted (e.g., for advanced features).
2. Extract and Prepare the Template Package:
Download your chosen template ZIP from the source (e.g., via purchase).
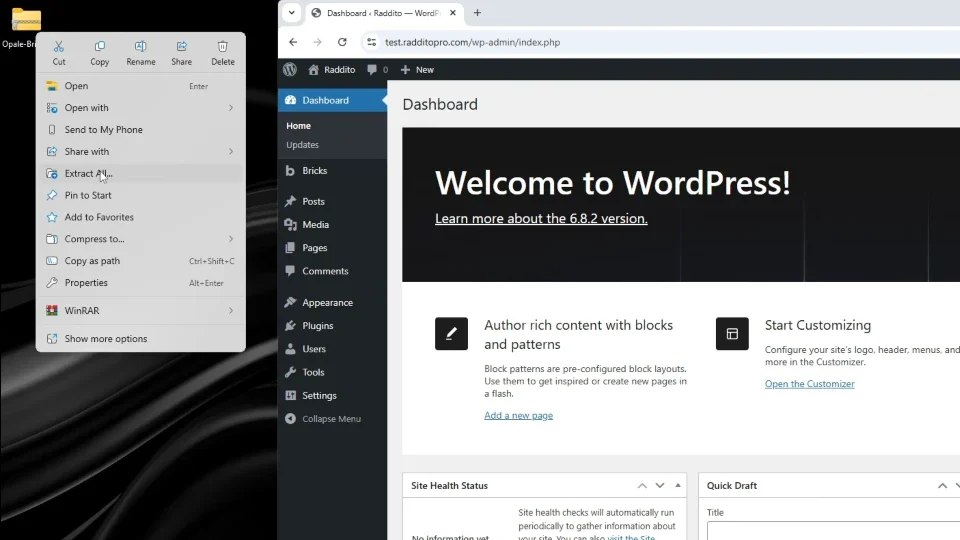
Unzip the package on your computer. You’ll find folders like:
templates/ (JSON files for layouts).demo-content/ (XML files for posts, products).fonts/ (Custom font files).images/ or other assets.
Note any included instructions PDF or TXT file for specific tips.
3. Import Templates via Bricks Dashboard:
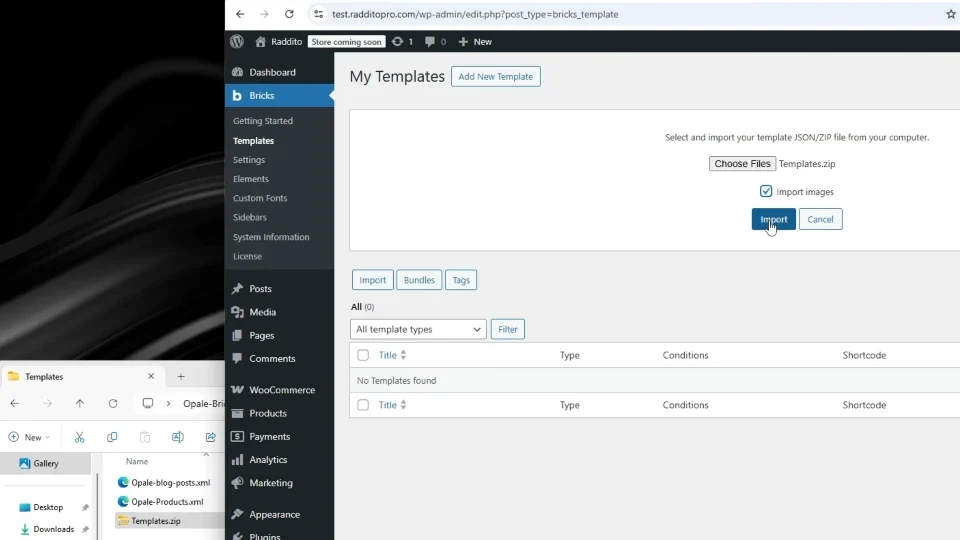
In WordPress, navigate to Bricks > Templates .
Click Import Templates and upload the JSON files from the package (e.g., all-templates.json or individual ones).
Bricks will import sections, pages, headers, footers, etc. This creates reusable elements.
If the package includes a full site export, use the Remote Templates feature if available, or manually import.
4. Set Up Theme Styles and Breakpoints:
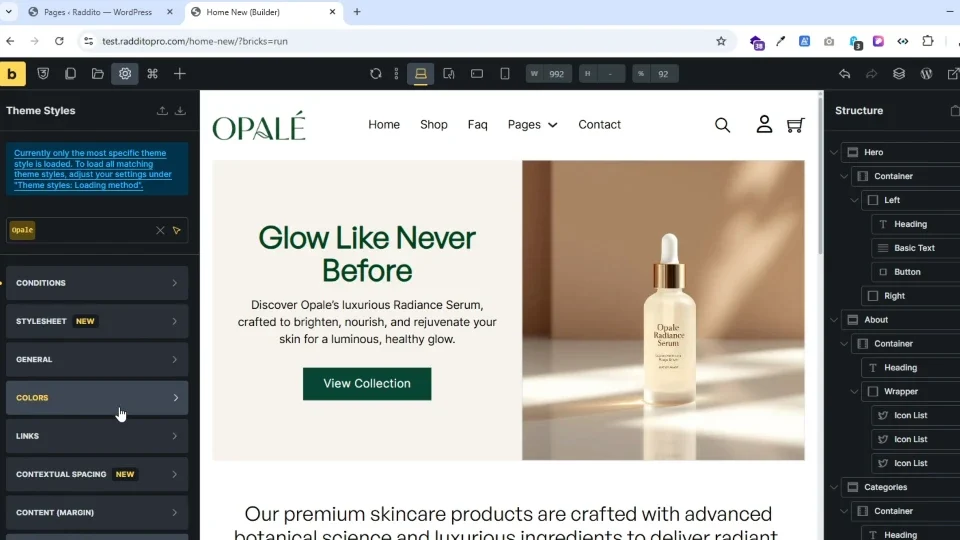
Go to Bricks > Theme Styles .
Import the provided JSON file for styles (e.g., colors, typography, breakpoints).
Configure breakpoints for responsive design: Default is mobile (base), tablet (768px), desktop (992px). Adjust as needed.
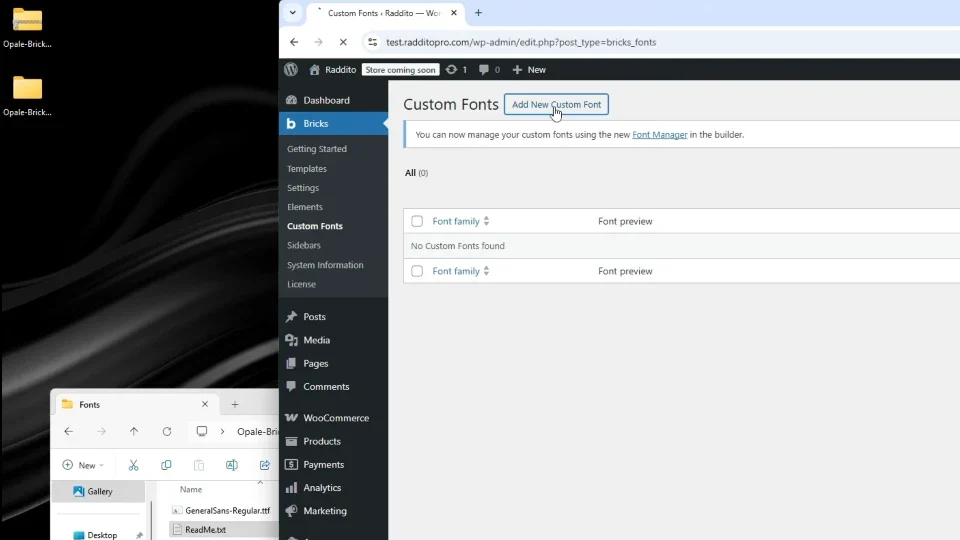
Upload custom fonts: Go to Bricks > Custom Fonts and add font files (WOFF2 format preferred for performance).
5. Import Demo Content (Posts, Pages):
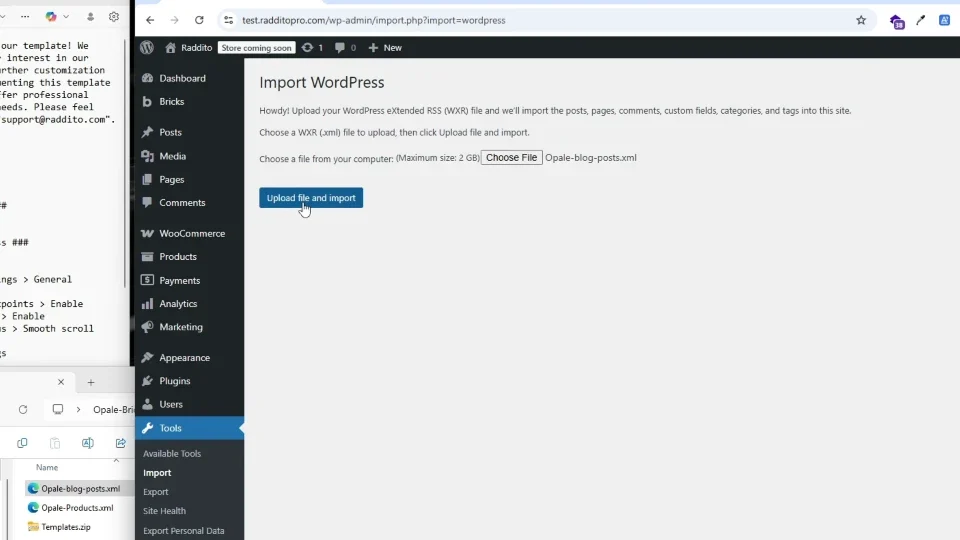
Go to Tools > Import in WordPress.
Install the WordPress Importer if not already (it’s a built-in tool).
Upload the XML file from the package (e.g., demo-posts.xml).
Check options: Import attachments (images), assign to an existing user, and download media.
Run the importer. This populates your site with sample blog posts, pages, and media.
6. Edit and Assign Pages:
Go to Pages > All Pages .
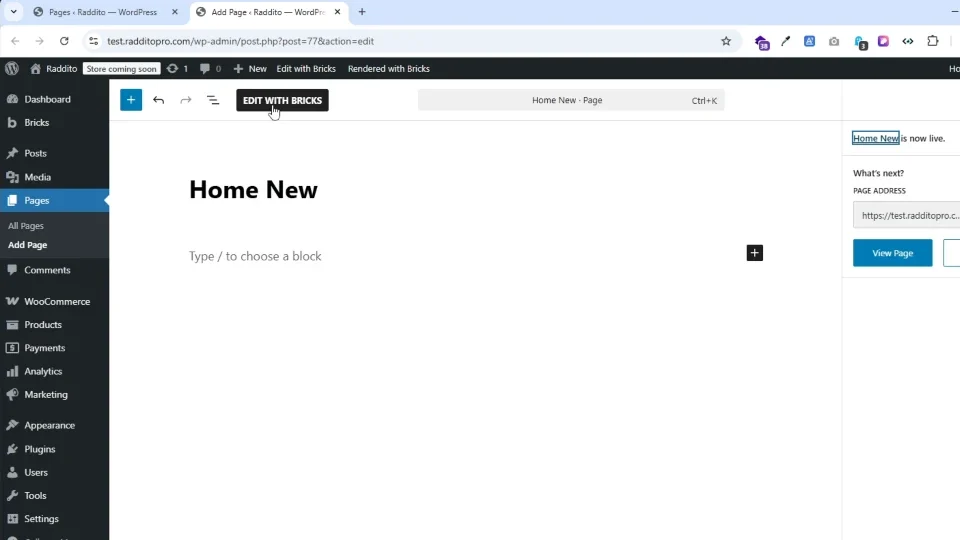
Edit the home page (or create one if needed) and set it as the front page via Settings > Reading .
Use the Bricks editor: Click Edit with Bricks on a page.
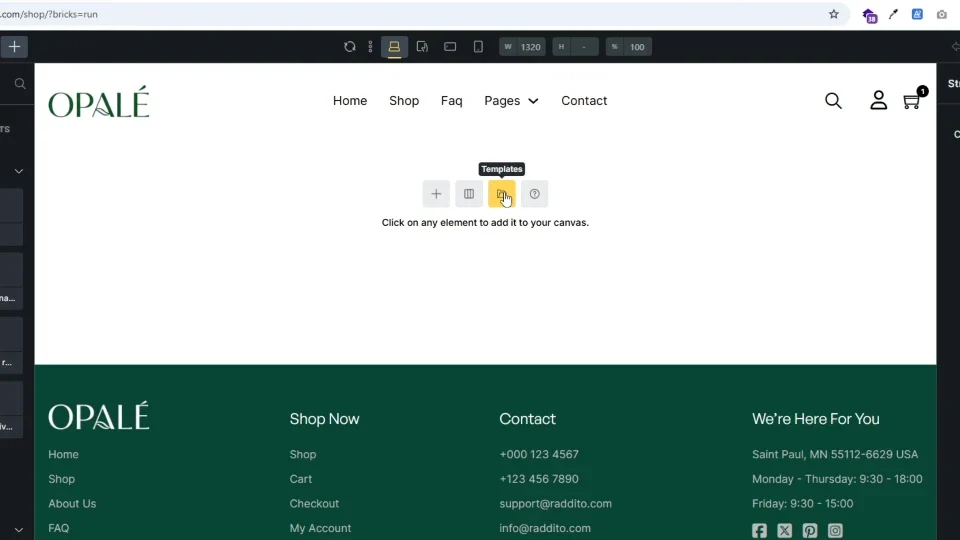
Apply imported templates: Drag sections from the template library.
Set conditions for elements (e.g., header on entire site): In Bricks editor, right-click an element > Conditions > Entire Site.
7. Test and Customize:
Preview the site. Check for broken links or missing images.
Customize colors, fonts, and layouts in the Bricks editor without coding.
Optimize performance: Enable lazy loading for images in Bricks settings.
Second Part: WooCommerce Integration and Setup
WooCommerce adds e-commerce functionality. Ensure it’s installed and activated before proceeding.
8. Import WooCommerce Demo Products:
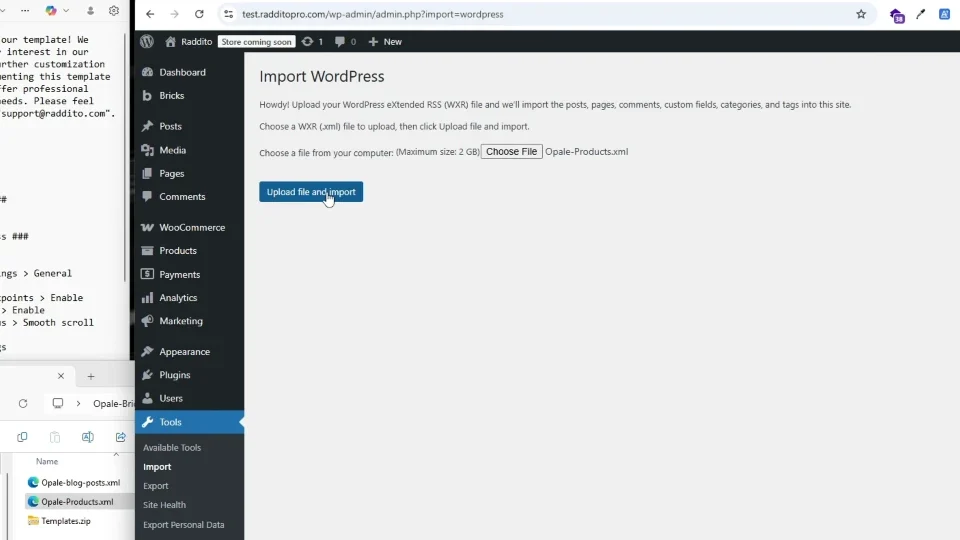
Similar to posts: Use Tools > Import > WordPress Importer.
Upload the WooCommerce-specific XML (e.g., demo-products.xml).
Import attachments and assign to a user. This adds sample products, categories, and attributes.
9. Configure Essential WooCommerce Pages:
WooCommerce auto-creates pages like Shop, Cart, Checkout, My Account.
Assign them in WooCommerce > Settings > Advanced :
Shop: Your main product archive.
Cart/Checkout: Use Bricks to style these with imported templates.
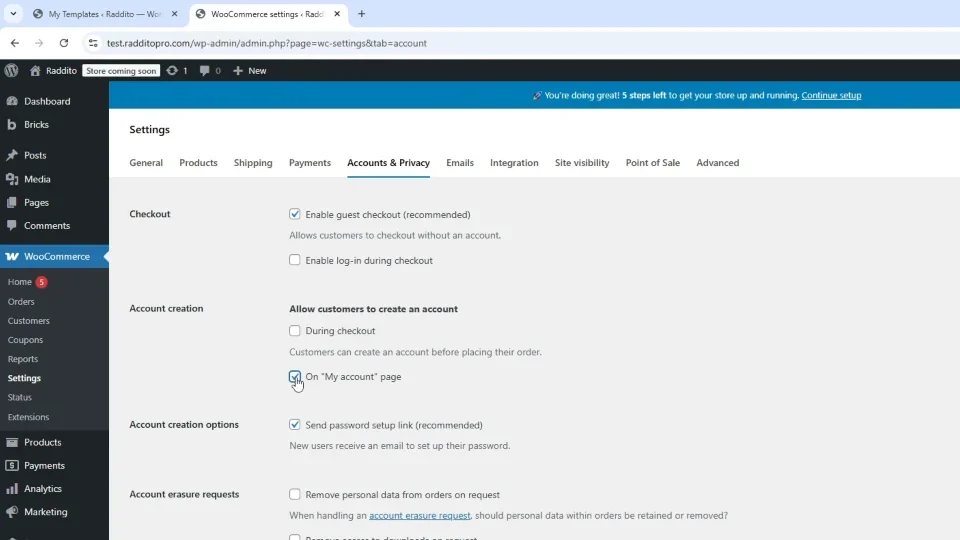
My Account: Enable registration on checkout via WooCommerce > Settings > Accounts & Privacy .
In Bricks, edit these pages: Apply Woo elements like Product Loop, Cart Totals.
10. Enable Bricks WooCommerce Features:
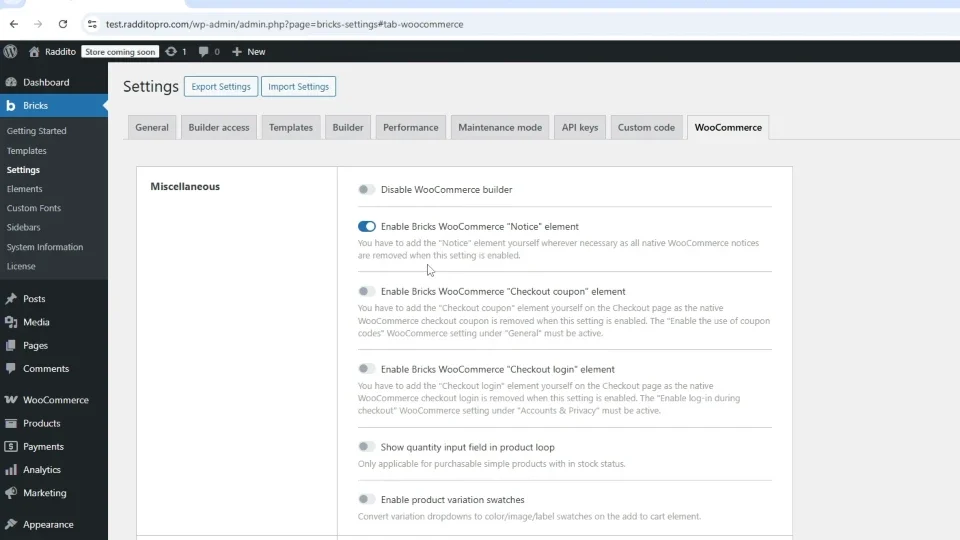
Go to Bricks > Settings > WooCommerce .
Turn on Enable WooCommerce Support .
Enable elements like notices, live filters, query sorting, and search.
Fix common issues:
WooCommerce notices not showing? Add the “Woo Notice” element to your template.
Registration fields missing? Ensure “Enable registration on the Checkout page” is checked in Woo settings.
At Last, Style Product Pages and Archives:
Edit a single product page: Use Bricks to add elements like Product Image, Price, Add to Cart.
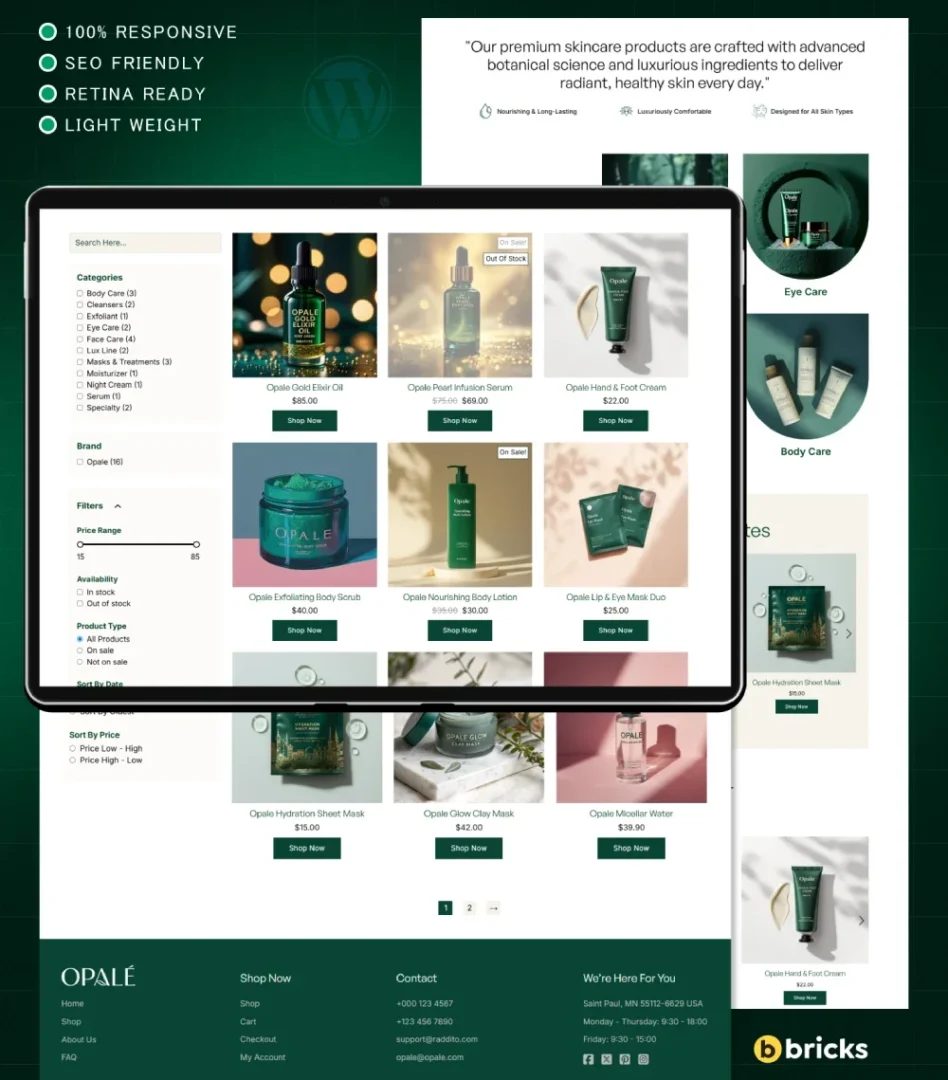
For shop archive: Go to Bricks > Templates > Create a new template > Set conditions to “Product Archive”.
Add a Query Loop for products, with filters for categories or sorting.
Customize with CSS classes if needed (Bricks has a built-in class manager).
Advanced Tweaks:
Payment gateways: Set up in WooCommerce > Settings > Payments (e.g., Stripe, PayPal).
Shipping: Configure zones and methods in WooCommerce > Settings > Shipping .
Test a purchase: Add a product to cart, proceed to checkout, and simulate a transaction.
Security: Install plugins like Wordfence for protection.
Troubleshooting Common Issues
Import Errors: XML too large? Increase PHP limits in wp-config.php or use a plugin like BigDump.Styling Conflicts: Clear cache (browser and site) after imports.Performance Slowdown: Optimize images with Smush plugin; use a CDN like Cloudflare.WooCommerce Not Integrating: Ensure Bricks version is compatible (check bricksbuilder.io/docs for updates).
If you find any major issues using a template from us, refer to our support for niche-specific fixes.
Final Tips
Always work in a staging environment before going live.
Learn more from official docs: bricksbuilder.io for Bricks, woocommerce.com/docs for Woo.
For advanced customizations, explore Bricks’ API or community forums.
Update plugins regularly to avoid security issues.
Resources (Used in Video)
For more premium templates, visit: net.radditopro.com/
For official Bricks Builder documentation, visit their support site for advanced troubleshooting.
This guide should get your site up and running. If you encounter specific errors or need help with a particular step, contact us and provide more details!
Tutorial Video: Complete Bricks Builder Full Site Import with WooCommerce Setup
VIDEO